We’ll walk you through three functions you can use, the Flash Fill feature, a helpful Office add-in, and a way to copy and paste between Microsoft Excel and Word. Use whichever method is easiest or works best for you.
Use a Formula to Change Case
Whether you already use Excel formulas or not, there are three handy functions for changing text case. With UPPER, LOWER, and PROPER, you can adjust your text with a simple formula.
To use the Excel functions, you’ll need to add the formulas to cells other than those containing the data, like in a new column to the right.
The UPPER Function
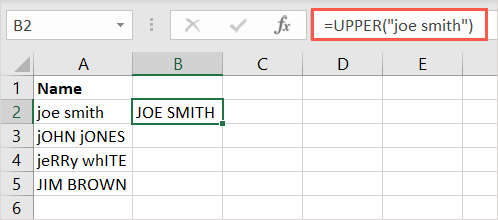
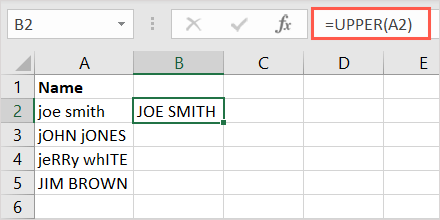
When you want to change your text to all uppercase letters, use the UPPER function. The syntax is UPPER(text) where you can enter the actual text or a cell reference for the argument. Here, we’ll change the text from a mix of upper and lowercase letters to all caps using this formula: =UPPER(“joe smith”) Notice that if you use the text for the argument, you should enclose it in quotation marks and can use any letter case. As another example, we’ll change the content in cell A2 to all uppercase text with this formula: =UPPER(A2)
The LOWER Function
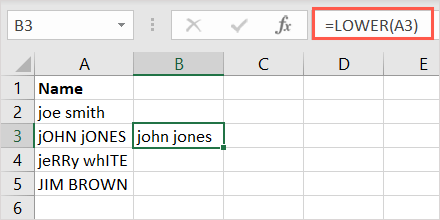
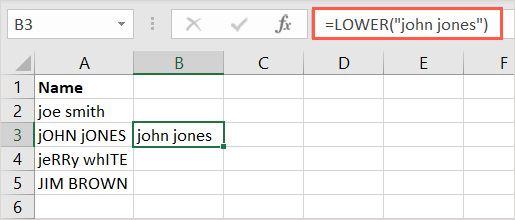
The opposite of the UPPER function is LOWER. With it, you can change to all lowercase text. The syntax is LOWER(text) where again, you can enter a cell reference or the text. In this example, we’ll change the text in cell A3 to all lowercase letters with this formula: =LOWER(A3) To use the text as the argument, be sure to wrap it in quotation marks. Here, we’ll change the text in quotes to all lowercase letters: =LOWER(“john jones”)
The PROPER Function
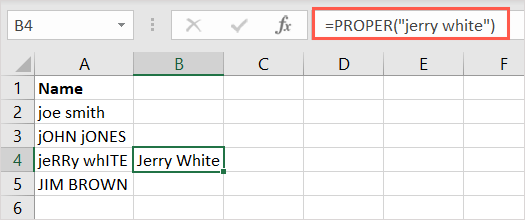
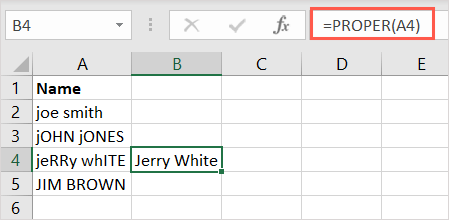
Lastly is the PROPER function which allows you to capitalize the first letter of each word, often called title case. This is a handy option for first and last names, titles, or headlines. The syntax is basically the same as the functions above, PROPER(text). Below, we’ll use the following formula to change the text to title case by enclosing it in quotes: =PROPER(“jerry white”) In the final example, we’ll change the text in cell A4 with this formula: =PROPER(A4)
Copy the Formula
If you have several cells in a column that you want to apply the formula to, you can simply copy and paste it down.
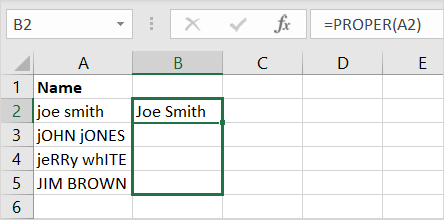
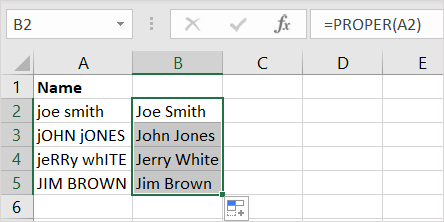
Select the cell containing the formula and drag the fill handle (plus sign) in the bottom right corner down through the remaining cells and release.
You’ll see the formula adjust to include the correct cell references and fill in the results.
Note: If you use absolute cell references rather than relative, the formula does not automatically update the references.
Take Advantage of Flash Fill
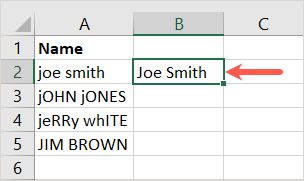
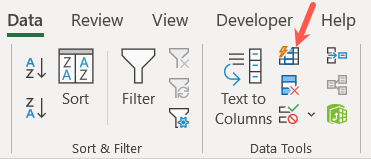
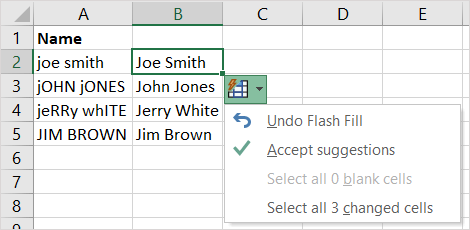
The Flash Fill feature in Excel is another convenient tool you can use to change the case of text. You simply create one entry the way you want your text and then fill the rest using Flash Fill. Here we have a list of names with mixed letter cases. You enter the way you want the text to appear in the first cell to the right and press Enter or Return. Then, either use the keyboard shortcut Ctrl + E or select the Flash Fill button in the Data Tools section of the Data tab. Like magic, you’ll see the remaining cells next to your other entries fill to display like the first one you provided. Optionally, you can select the Flash Fill button that appears to officially accept the suggestions, although it’s not required.
Check Out an Add-In
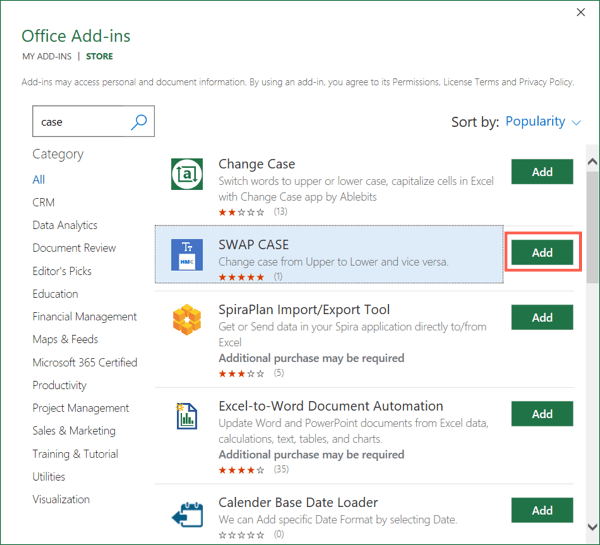
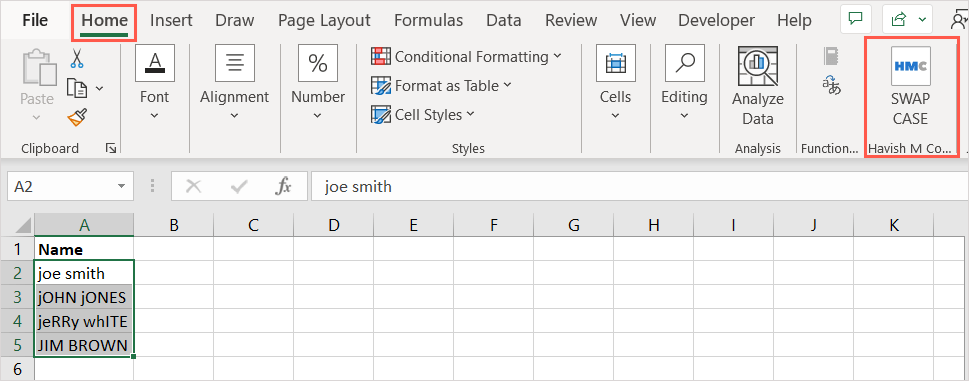
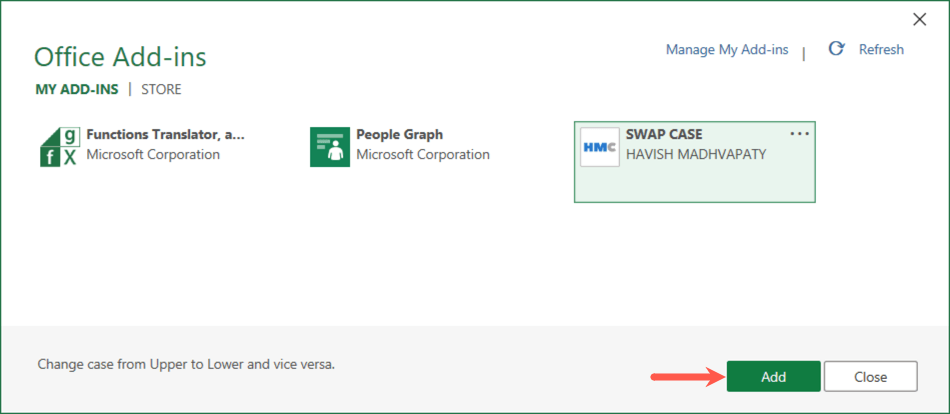
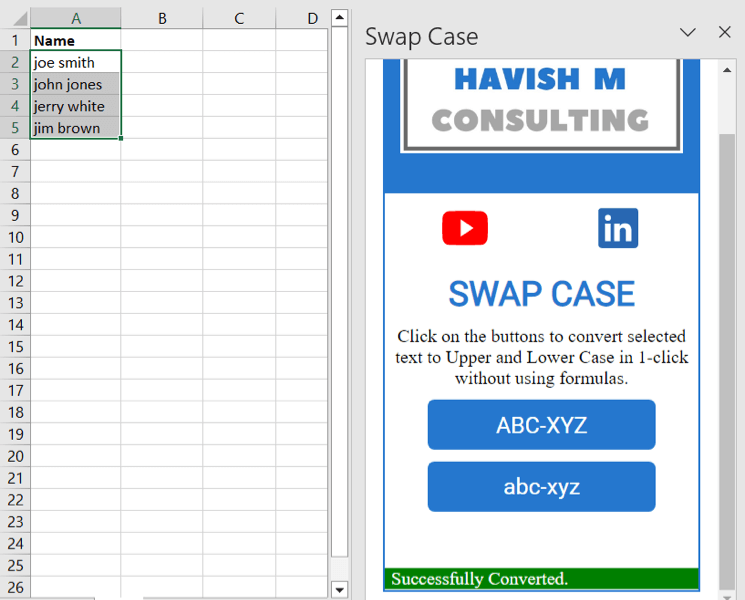
Maybe you’re not fond of formulas and want a tool that changes the text in-place. You can take one of Excel’s add-ins for a spin. Here, we’ll use the Swap Case add-in. You’ll see the text in your selected cells change to the case you choose. The benefit to the add-in is that you can change your text in the original cells. Unfortunately, the add-in doesn’t offer a proper case option.
Copy and Paste From Microsoft Word
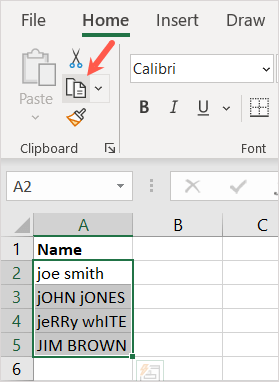
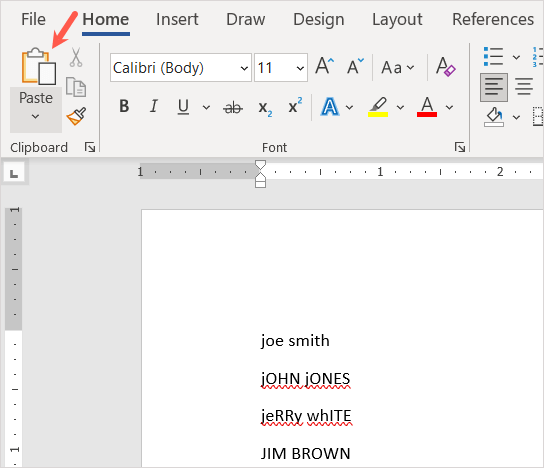
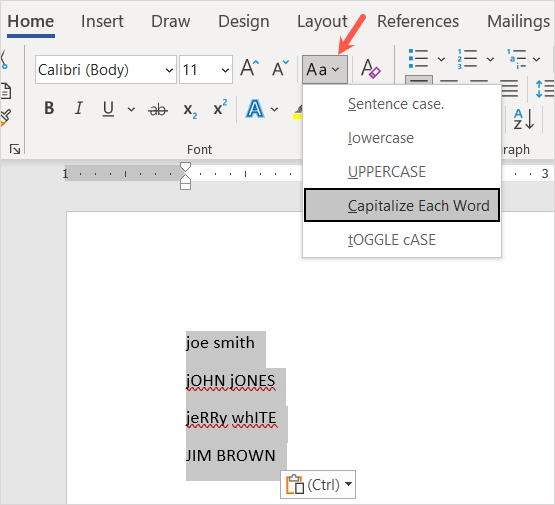
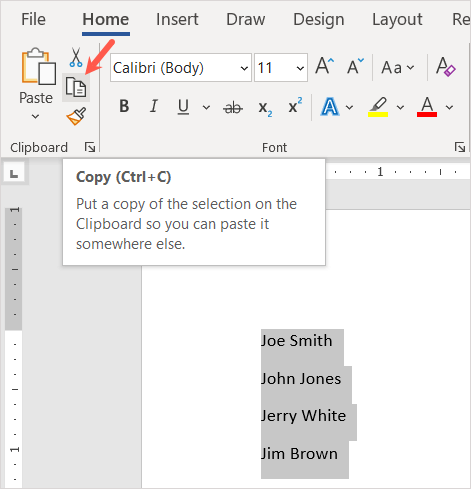
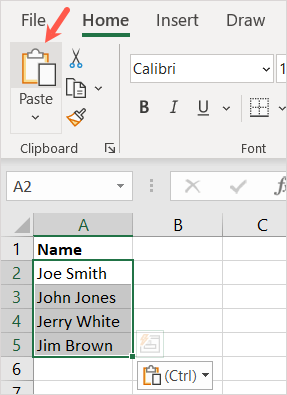
If you use Microsoft Word in addition to Excel and perform a lot of copying and pasting, this gives you another option. Because Word offers an easy way to change text case, you can edit it there and pop it back into Excel. You’ll then see your edited text in the case you chose. While this method does require a bit of extra work, it’s still a useful way to go if it’s what you’re comfortable using and eliminates the need for an extra column. You can always change text case in Excel manually, one cell at a time. However, these options give you faster, easier, and less tedious ways to go. Which will you use? For more tutorials, look at how to remove duplicate rows in Excel.

